
Not “slightly off”. Wrong.
The handle digs into your palm. The hinge binds. The thing wobbles on a table that you swear is flat. And suddenly you are staring at a pile of expensive lessons.
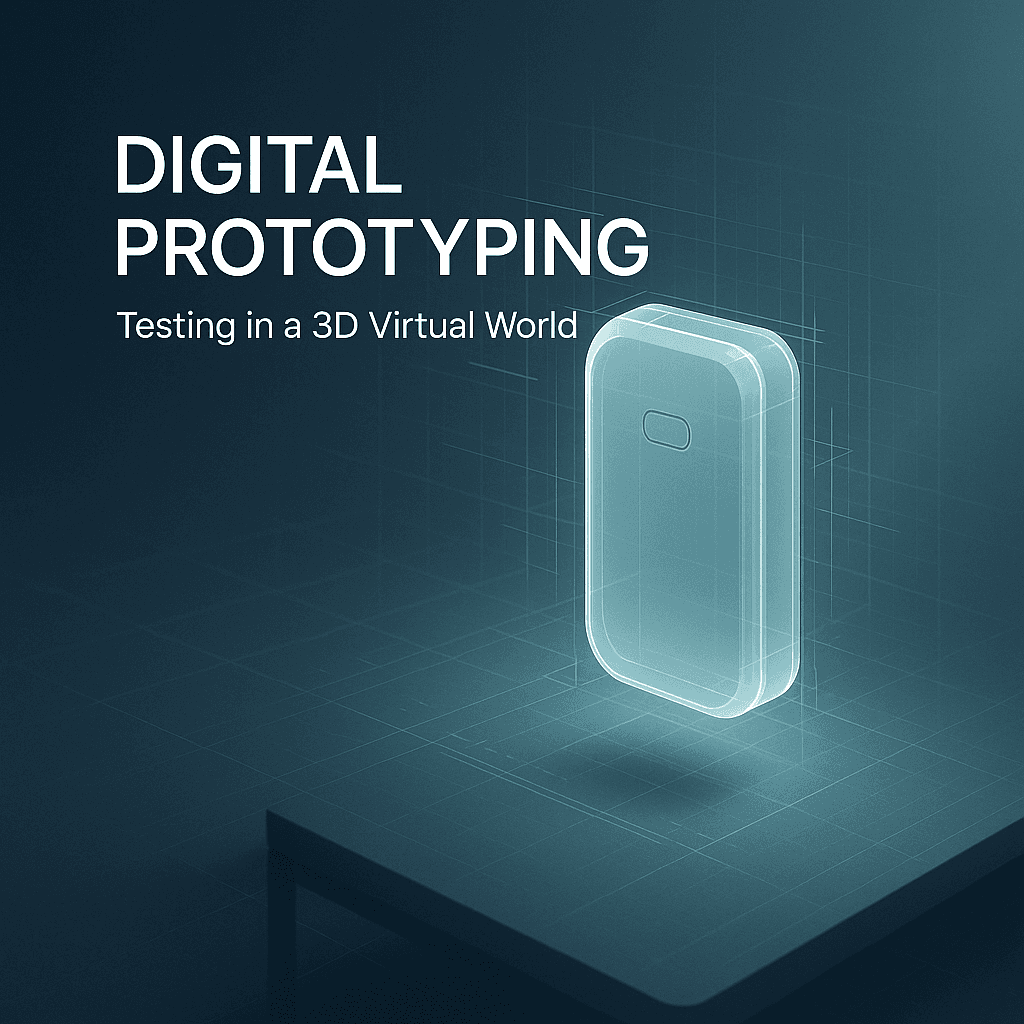
Digital prototyping exists because of that moment.
It is basically the practice of building and testing a product in a 3D virtual world before you commit to cutting metal, ordering molds, or shipping anything to a factory. But that description is almost too clean. In real life it’s messy, iterative, and honestly kind of addictive once a team gets good at it.
You stop arguing in meetings and start checking.
What digital prototyping actually is (not the buzzword version)
A digital prototype is a testable 3D representation of your product. Usually a CAD model, sometimes a whole simulated environment around it. The important part is “testable”.
Not just a pretty render for marketing. Not a concept sketch. Not a deck slide.
A digital prototype is something you can poke, measure, stress, animate, assemble, and break. Virtually.
Depending on what you’re building, digital prototyping can include:
- 3D geometry and assemblies (how parts fit together)
- Motion studies (how it opens, rotates, slides, locks)
- Structural simulation (will it crack, bend, fatigue)
- Thermal simulation (heat buildup, cooling paths)
- Fluid simulation (airflow, water resistance, leaks)
- Ergonomics and human factors testing (reach, grip, visibility)
- Manufacturability checks (draft angles, undercuts, tool access)
- VR and AR reviews (scale, spatial feel, usability in context)
And yes, sometimes it’s literally a 3D virtual world where you place the prototype in a realistic environment. A kitchen. A hospital room. A warehouse aisle. A car interior. That part matters more than people think.
Why teams are moving prototype testing into 3D
The simple reason is cost and time. Physical prototypes are slow. They require materials, vendor coordination, shipping, and the constant “wait, we changed the design again” loop.
Digital prototypes compress that loop. You can test ten variations in a day, not two variations in three weeks.
But there are a few deeper reasons too.
1. You catch dumb mistakes early. The ones that hurt later.
Interference issues. Screws that can’t be inserted because a rib blocks the driver. Cables that have nowhere to route. Assemblies that look fine as parts but fail as a system.
These are the mistakes that create expensive tooling changes. Or worse, they show up during pilot production when everybody is tired and the schedule is already on fire.
Digital assembly checks and clearance analysis are unglamorous, but they save projects.
2. You stop arguing about opinions and start testing assumptions
If you have ever sat in a meeting where someone says, “I feel like the wall thickness is fine,” you know the pain.
Digital prototyping turns a lot of feelings into experiments. Even if your simulation is not perfect, it forces the team to be specific.
- What load are we designing for?
- Where is the stress concentration?
- What’s the safety factor?
- What happens after 50,000 cycles?
People still argue, sure. But now they argue with screenshots, plots, and numbers.
3. You can explore more ideas without paying for them yet
This is the part that changes product quality.
When physical prototypes are expensive, teams converge too early. They pick a direction because they have to. With digital prototypes, you can keep options alive longer. You can compare a latch mechanism vs a magnet vs a snap fit without blowing the budget.
And sometimes you find a third option because you had the breathing room to look.
4. Remote collaboration becomes real
A lot of engineering is still weirdly tied to being in the same room with a physical thing.
But when your prototype is digital, you can review it together from different locations, annotate the model, spin it in 3D, and record decisions. Add VR and it gets even more convincing, because scale and spatial relationships stop being abstract.
Not perfect, but better than emailing screenshots back and forth for three days.
What “testing in a 3D virtual world” looks like in practice
People imagine something like a video game. Sometimes it is. More often it is a mix of tools and formats that together create a “virtual test”.
Here are common patterns.
Scenario testing (context is everything)
Let’s say you are designing a handheld medical device. On a blank screen, it looks fine. In a simulated hospital room, you notice issues:
- The display angle is wrong when the clinician is standing
- The cable exits straight into a cart handle
- The device blocks access to another tool on the tray
The prototype did not change. The context exposed the problem.
This is why teams build virtual environments. A lot of product failures are not “the part broke”. They are “the product is annoying in real life”.
Ergonomics and reach studies
If you are building anything humans touch, digital prototyping can help you test:
- Grip comfort and hand clearance
- Knuckle clearance around controls
- Reach distance to buttons
- Visibility of indicators from typical angles
- Access for maintenance, battery swaps, cleaning
You can do this with digital mannequins, motion capture data, or VR where real humans interact with the virtual object. It is not a full replacement for physical feel, but it catches obvious ergonomic mistakes early.
And catching “obvious” early is the whole game.
Motion and mechanism validation
Mechanisms are where prototypes go to die. Hinges, sliders, linkages, locks, foldable parts. They always look elegant until you test them.
With motion simulation you can validate:
- Range of motion
- Collisions and interference
- Required clearances
- Timing and sequence in assemblies
- Whether the mechanism binds at certain angles
You can also estimate forces and torque requirements. Again, not always perfect, but enough to prevent major redesigns.
Structural, thermal, and fatigue simulation
This is the engineering heavy side. Finite element analysis (FEA) for stress and deformation. Computational fluid dynamics (CFD) for airflow and fluids. Thermal analysis for heat.
The point is not to pretend the simulation is reality. The point is to learn where reality might hurt you.
Examples:
- Stress spikes around screw bosses
- Plastic clips that creep over time
- Heat build up near batteries or power electronics
- Warping in thin wall parts
- Vibration modes that cause noise or failure
If you are doing consumer electronics, this is huge. If you are doing industrial gear, also huge. If you are doing anything safety related, you already know.
Manufacturing and assembly checks
Digital prototyping also includes DFM and DFA style checks.
- Can the part be molded without undercuts?
- Are draft angles correct?
- Can tools reach fasteners during assembly?
- Does the assembly sequence actually work?
- Are tolerances realistic, and do they stack up?
A product that “works” in a CAD file can still be impossible to build. Virtual assembly simulation and tolerance analysis help prevent that painful discovery.
The tools people use (and how they fit together)
Most teams don’t use one single magic platform. It’s usually a stack. The exact choices vary by industry, but the categories are consistent.
- CAD modeling: SolidWorks, Fusion, Creo, NX, CATIA, Onshape
- Rendering and visualization: KeyShot, Blender, VRED
- Simulation: Ansys, Abaqus, COMSOL, SimScale, SolidWorks Simulation
- Collaboration and review: Onshape sharing, Autodesk Viewer, 3D PDF, cloud PLM tools
- VR and real time environments: Unity, Unreal Engine, NVIDIA Omniverse, bespoke VR review tools
- AR for in context checks: mobile AR viewers, HoloLens style workflows
A practical workflow might look like this:
- Design team builds the core CAD assembly.
- Engineering runs quick simulations to flag obvious weaknesses.
- The model is pushed into a real time environment for a VR review with stakeholders.
- Manufacturing reviews for tooling and assembly access.
- Changes go back into CAD and repeat.
You do not need all of this to get value. Even basic assembly interference checks and a simple VR scale review can change outcomes.
What digital prototyping is bad at (and why you still need physical prototypes)
Digital prototypes are powerful, but they are not reality.
A few things they struggle with:
Tactile feel and material nuance
The “feel” of a button. The squish of a gasket. The way a surface texture grips or slips. The subtle rattle that makes a product feel cheap.
You can approximate some of this with haptics and material models, but physical prototypes still win here. Especially for consumer products.
Real world variability
Simulations often assume ideal conditions. Real life is full of nonsense:
- manufacturing variation
- temperature swings
- dust, moisture, UV exposure
- user abuse
- unexpected loads and impacts
Digital testing can model some of this, but it’s easy to over trust a clean simulation.
Garbage in, garbage out
If your constraints are wrong, your simulation lies to you. If your material properties are outdated, your results drift. If your mesh is too coarse, you miss stress concentrations.
Digital prototyping makes you faster. It does not magically make you correct.
So the best teams treat digital prototypes as a filter. They use them to eliminate bad ideas early, then validate the survivors physically.
That is the healthy loop.
A realistic digital prototyping workflow for a new product
If you are starting from scratch and you want a process that actually works, here’s a simple version that scales.
Step 1: Build a “truth” CAD model, not a marketing model
Get the core geometry right. Include fasteners, ribs, clearances, and realistic wall thickness. Don’t wait until later. “Later” is when everything becomes painful.
Step 2: Do quick interference and assembly checks
Before fancy simulation, do basic sanity:
- Do parts collide?
- Can the screwdriver fit?
- Can the battery be installed?
- Does the latch have clearance?
This catches an absurd number of problems.
Step 3: Run lightweight simulations early, even if they are rough
Early FEA is not about perfect accuracy. It is about direction.
Where are the weak spots? Where should you add material. Where can you remove it. Are you building a beam that wants to twist.
Step 4: Put it into a real context, ideally in VR or AR
Show it at scale. In the environment it will live in. With the typical user.
This is where non engineering stakeholders suddenly become useful, because they will notice usability stuff engineers ignore.
Step 5: Iterate fast, document decisions, keep versions tidy
Digital prototyping is only as good as your change control. If people don’t know which model is current, you lose trust fast.
A simple versioning and review routine saves you.
Step 6: Build physical prototypes later, but smarter
By the time you cut a real prototype, you should already be confident in:
- fit and basic function
- mechanism motion
- major stress and thermal risks
- assembly sequence feasibility
Then physical prototypes can focus on what digital can’t do well: feel, sound, finish, abuse testing, long cycle durability.
Where digital prototyping is going next
This is the part that feels like it is speeding up every year.
- More real time simulation, not “run it overnight and see tomorrow”
- Better digital twins that stay connected to real product data after launch
- AI assisted design iteration, suggesting geometry changes for strength, weight, cooling, cost
- Cloud collaboration that feels less like file passing and more like shared reality
- VR reviews becoming normal, not special events
But even with all that, the core promise stays the same.
Make mistakes when they are cheap. Learn early. Iterate faster than your competition.
Wrapping it up
Digital prototyping is not a replacement for building real things. It is a way to avoid building the wrong things.
Testing a new product in a 3D virtual world lets you validate fit, motion, strength, thermal behavior, and usability long before you spend real money on tooling and production. It also changes the culture of development. Less guessing. More checking.
If you are building anything complex, or anything expensive to prototype physically, this is one of those shifts that pays back immediately.
And then it keeps paying, because once you get used to running experiments instead of debates, it is hard to go back.
FAQs (Frequently Asked Questions)
What is digital prototyping in product development?
Digital prototyping is the practice of building and testing a product in a 3D virtual world before committing to physical production steps like cutting metal or ordering molds. It involves creating a testable 3D representation, usually a CAD model, that can be poked, measured, stressed, animated, assembled, and virtually tested.
Why is digital prototyping important compared to traditional physical prototypes?
Digital prototyping significantly reduces cost and time by allowing teams to test multiple design variations quickly without the delays and expenses of physical materials, vendor coordination, and shipping. It also helps catch early design mistakes, improves collaboration, and enables exploring more ideas before finalizing a design.
What kinds of tests can be performed with digital prototypes?
Digital prototypes can undergo various tests including 3D geometry and assembly fitting, motion studies for mechanisms like hinges and sliders, structural simulations for stress and fatigue analysis, thermal simulations for heat management, fluid simulations for airflow or leaks, ergonomics assessments for grip and reach, manufacturability checks like draft angles, and immersive VR/AR reviews for spatial usability.
How does digital prototyping improve team collaboration during product development?
By moving prototypes into a digital 3D environment, teams can collaborate remotely by reviewing models together from different locations. They can annotate designs, spin models interactively in 3D, record decisions made during reviews, and use VR to better understand scale and spatial relationships—making discussions more objective and data-driven rather than opinion-based.
Can digital prototyping simulate real-world usage scenarios?
Yes. Teams often build virtual environments such as hospital rooms or kitchens where the prototype is placed to test context-specific issues. This scenario testing reveals practical problems like awkward display angles or interference with other tools that might not be obvious on a blank screen but affect real-life usability.
What are some common challenges that digital prototyping helps to avoid in product development?
Digital prototyping helps identify dumb mistakes early such as parts interfering with each other, screws being inaccessible due to design features blocking them, cables lacking routing paths, assemblies failing as systems despite individual parts looking fine—all of which could cause costly tooling changes or production delays if discovered too late.